
Plants
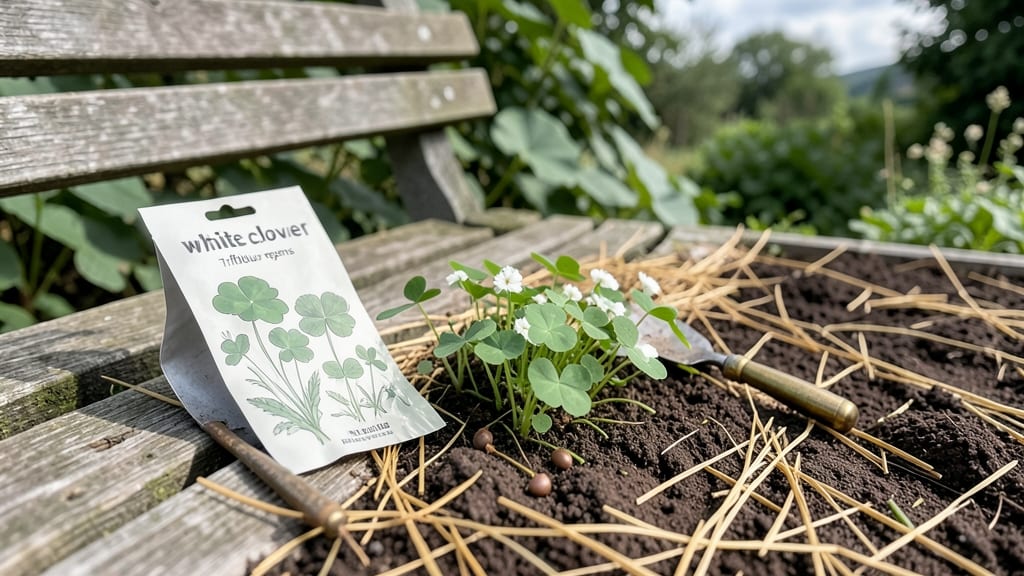
Timing your clover planting in spring isn’t just about throwing seeds into the dirt—it’s about unlocking fast germination and a thriving cover crop. Whether you’re prepping for a lush lawn or boosting soil health, getting this right makes all the difference.
The key? Planting when soil temperatures hit that sweet spot between 45°F and 65°F, usually right after the last frost.
Too early, and cold soil slows clover down; too late, and you risk dry conditions or weed competition. I’ll walk you through the exact window for your zone, plus soil prep tricks to set your seeds up for success. No more guessing—just smarter planting for a greener spring.
From companion plants that speed up growth to signs your timing is off, this guide covers everything you need. Whether you’re a beginner or a seasoned gardener, you’ll leave here knowing exactly when to plant 🌱 clover for the best results.
Ready to transform your garden? Let’s dive into the soil temp secrets that’ll have your clover sprouting in record time.
Optimal soil temperature ranges for planting clover seeds in spring
Clover seeds need the right soil temperature to germinate quickly and grow strong. The ideal soil temperature range for planting clover in spring is between 45°F and 65°F. This window ensures your seeds won’t sit dormant or rot in cold soil, while avoiding the stress of scorching heat.
In regions with cooler springs, like the Pacific Northwest or northern Midwest, aim for 50°F or warmer before planting. Warmer climates, such as the Southeast or Southwest, can handle planting earlier, as long as the soil isn’t still damp from winter.
Soil temperature fluctuates based on sun exposure, moisture levels, and time of day. The ground is warmest in the afternoon, so planting in the late afternoon can give seeds a slight advantage.
However, avoid planting when the soil feels too hot to touch—this can dry out seeds before they germinate.
To check soil temperature accurately, use a soil thermometer (available at garden centers for under $10). Insert it 2 inches deep—the depth where clover seeds will be planted—and wait 30 seconds for a reading. If the temperature is below 45°F, wait a few days and retest.
If you don’t have a thermometer, use the finger test: Stick your finger into the soil. If it feels cool but not freezing, it’s likely in the right range.
For a rough estimate, compare the soil warmth to a cool shower—if it’s warmer than that, it’s probably ready for clover seeds.
Another trick is to watch for wild clover growth in your area. If you spot clover sprouting naturally in fields or lawns, the soil temperature is likely perfect for planting your own seeds.
| Soil Temp Range | Best Planting Time | Regions | Germination Time |
|---|---|---|---|
| 45°F–50°F | Early spring (March) | Zones 3–6 | 14–21 days |
| 50°F–60°F | Mid-spring (April) | Zones 6–9 | 7–14 days |
| 60°F–65°F | Late spring (May) | Zones 9–11 | 5–10 days |
Once your soil hits the ideal temperature, act fast! Clover seeds can lose viability if left exposed to dry or hot conditions. Plant them within 24–48 hours of purchase for the best results.
If you’re unsure about soil temperature, err on the side of waiting a few days—patience now means a stronger clover patch later.
For northern gardens, combine soil temperature checks with last frost dates. Plant clover 2–3 weeks after the average last frost, but only if the soil is warm enough. This timing balances frost risk with germination needs.
If your soil is still too cold, consider covering seeds lightly with straw to retain warmth. This trick works well for early spring plantings in cooler climates, giving seeds a head start without risking overheating.
Remember, clover thrives in well-draining soil with a slightly acidic to neutral pH (6.0–7.0). Test your soil’s pH before planting—amend it with lime if it’s too acidic or sulfur if it’s too alkaline. Healthy soil = happy clover!
Optimal soil temperature ranges for planting clover seeds in spring
Clover seeds need warm soil to germinate quickly, but planting too early can leave them vulnerable to frost damage. Aim for soil temperatures between 45°F–65°F—this range ensures fast germination without overheating the seeds.
In cooler climates like USDA Zone 5, wait until soil reaches 50°F (10°C) before planting.
Warmer regions like Zone 8 can plant earlier, but avoid soil temps above 75°F, which can cause seeds to dry out. Use a soil thermometer to check—insert it 2 inches deep where you’ll plant for the most accurate reading.
If you don’t have one, press your hand into the soil: if it feels lukewarm, it’s likely in the ideal range.
Morning is the best time to test soil temperature because overnight cooling can skew readings. If your soil is still too cold in early spring, consider covering the area with black plastic for a few days to warm it up naturally.
This trick works especially well for late frost-prone areas where spring arrives slowly.
| Climate Zone | Ideal Soil Temp | Best Planting Window | Signs It's Ready |
|---|---|---|---|
| Zones 3–5 | 50°F–60°F (10°C–15°C) | Mid-April to early May | Soil feels warm to touch; last frost passed |
| Zones 6–7 | 45°F–55°F (7°C–13°C) | Late March to April | Daffodils blooming; soil thermometer confirms warmth |
| Zones 8–10 | 55°F–65°F (13°C–18°C) | February to March | No frost risk; soil feels consistently warm |
If your soil is too cold and you’re eager to plant, consider starter clover sod instead of seeds—it germinates faster and establishes quicker. For seed starters, mix seeds with sand or compost to improve soil contact and warmth.
This simple hack can boost germination rates by up to 30% in chilly conditions.
Once your soil hits the sweet spot, plant seeds ¼ inch deep and cover lightly with soil. Water gently but thoroughly to settle the seeds without washing them away. Consistent moisture is key—clover seeds need to stay damp until they sprout, usually within 10–21 days, depending on the variety.
Pro tip: After planting, mulch with straw or grass clippings to retain moisture and regulate soil temperature. This extra layer helps protect young seedlings from temperature swings and keeps them moist longer, especially in windy or dry spring conditions.